


Sometimes we want a part of our website to be visible at all times to our visitors because we want for them to have it right there at their eye-sight non-stop. To be visible but not in the face kind of thing. For that, we need a tool that will enable us to do just that, but with any element.
Usually, owners like to stick to navigation menus to be always on top of the screen – as they should. But what if we told you that you could have a plugin that will enable you to stick anything, wherever you want, and how many of them do you want?
However, to have a successful website where you can add a sticky element, you need good hosting. WPMU DEV hosting ticks all the boxes. It’s affordable, fast, secure, fully dedicated, and the #1 rated WordPress host on TrustPilot. Get 20% off any of their plans here.
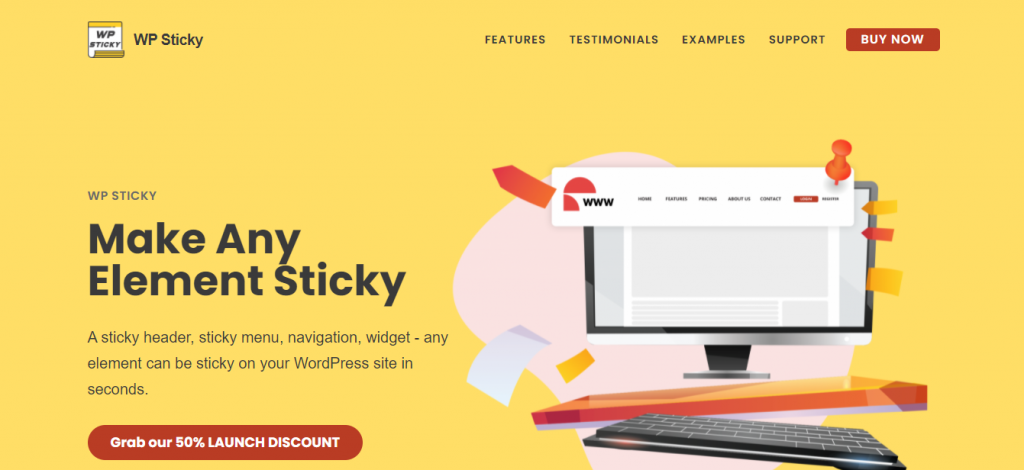
So, add different sticky elements and widgets to your website with the help of a tool by the name of WP Sticky.
Overview
WP Sticky is a plugin that will gladly help you stick anything from a header, sticky menu to navigation, widget, or any element on your website. It only takes a couple of seconds to do so!
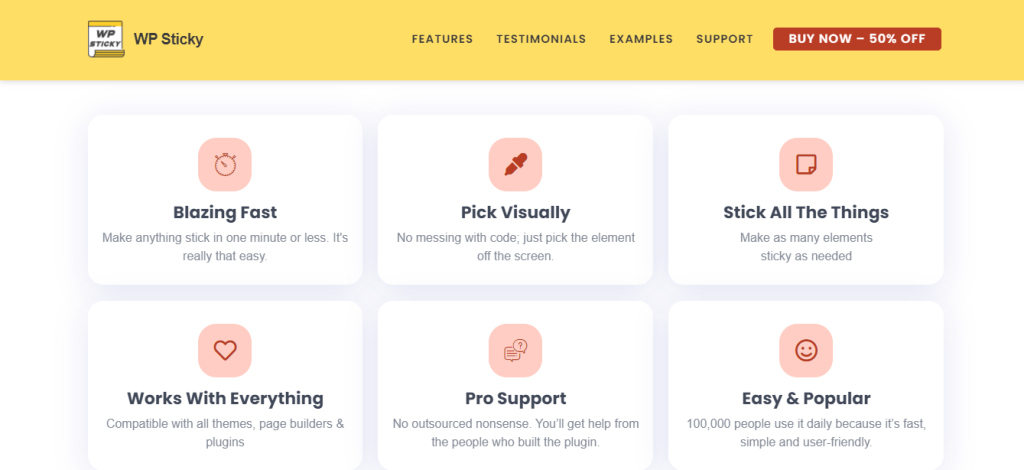
Some of the key features that they provide and that we will cover in this article suggest that this plugin is:
- Speed
- Visual editor
- Unlimited sticky elements
- Compatibility
- Support
- Ease of use
Why Should You Have WP Sticky on Your Site
To put it quite simply – if you want something important on your website to stick out at all times and do it quickly, WP Sticky is the thing you are looking for. Secondly, when something is that important, you greatly benefit from it. For example, a sticky menu is something practical for your customers.
No matter how far they scroll on your website or an article of yours, the menu will follow them and always be on the top of the screen. That way, if they want to go back to a specific part of your site, they are just one click away, instead of having to scroll endlessly to it.
In addition, having that menu always there will give you more conversion, and it also gives your visitors an easier time handling your page. It may seem like a small change, but it is beneficial to both the owners and the visitors.
The Review
In this part of the article, we will review the tool from top to bottom and give you a unique experience in every setting that this tool has.
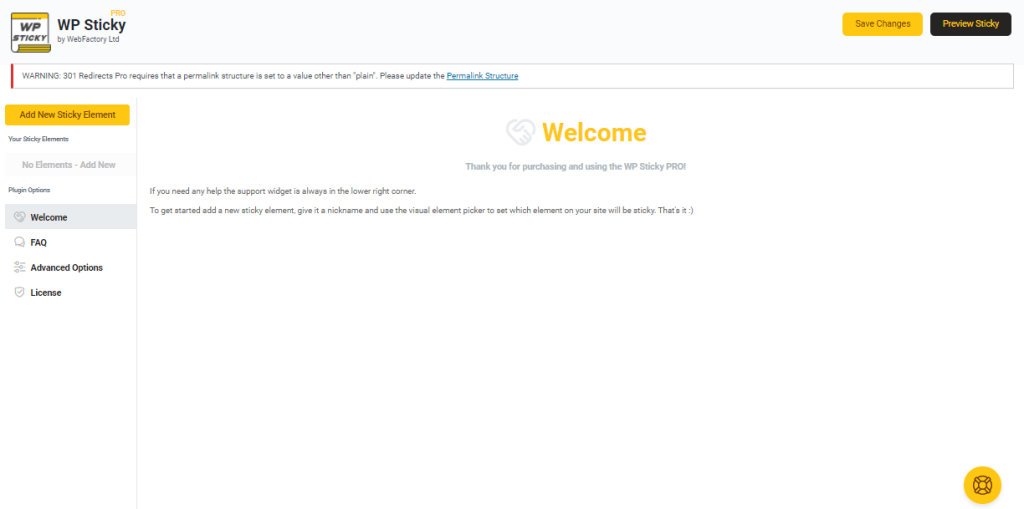
Creating the sticker is pretty much an easy job. Right after you open the dashboard, you will see a big yellow button with the words on the left side” Add a new sticky element.”
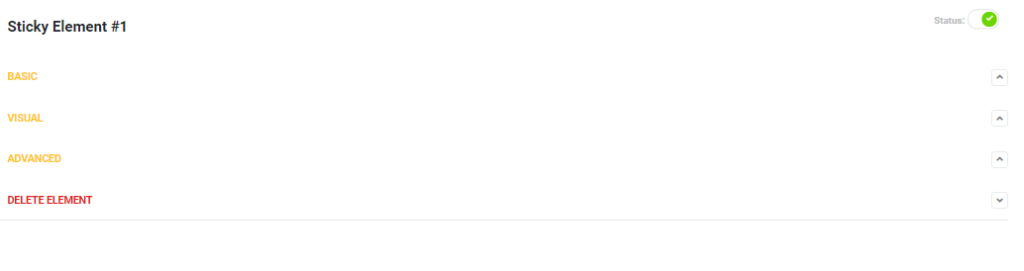
After clicking on that button, you will be presented with the working space. In there, you will see three parts of the setting up process – Basic, Visual, and Advance options.
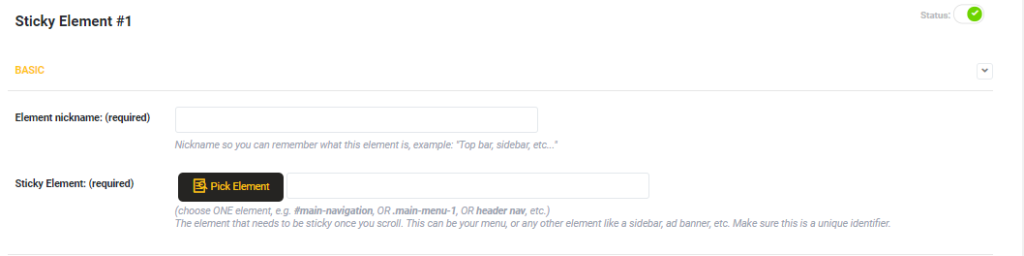
The basic settings have only the essential things:
- naming your sticker
- and choosing the elements that you want to stick
As we already hinted, choosing the element is pretty much more accessible than ever. When you click on the rectangle-shaped “pick the element” button will open your website from where you will be able to choose the element you want. You can name your sticker however you want, and nobody will see that except for you. Simply select the part you want to follow your visitors while surfing your site.
Now, onto the visual part of this tool. It gives you options that will make you fall in love with it immediately. You have the options to play around with, such as positions, devices, effects, among some other things. You can choose between two options for the position – top or bottom.
The most used one is the top option, and most users expect it to be there, but if you like to switch things up, that’s your call! Just a friendly reminder that if you choose to go for the bottom option, it is good to make it taller and include icons to make it more visible.
The option by the name of the admin toolbar is self-explanatory; if you have an administration tool and don’t wish your elements to be close to it, then check this box, and that’s it. A Clean-looking website does half the ob.
Besides, the devices options are self-explanatory, meaning what devices you want your elements to be sticky. There are four options: small, medium, large, and extra-large. You can select one of them, a few, or all of them if you like it.
Lastly, we get to the part of the effects. There are a few options that you can choose from, such as fade-in, slide down, or if you are feeling a little bit extra – both. Some other options that this tool provides are scroll range, z-index, opacity, custom CSS, and the background color of the sticky element.
The advanced setting is optional, so you do not have to use them if you do not want to. But let us explain what kind of options you have here. The first two options do not stick when the screen is smaller and do not stick when larger. Here you choose which sizes of devices you do not or want your sticky element to be visible.
Push up elements and do not stick here are self-explanatory. Push up element if you want to use a part on your site that will push the sticky element up or down, and do not stick here if you do not want the piece to be stuck on a particular part of your website.
Nevertheless, this tool has your back if you get to the point that you do not know what something is for and the purpose of settings. Underneath every option, you have a little caption where they describe what the use of that option is.
It is also safe to say that right there, on the dashboard, you have a yellow button. If you ever experience a problem, you can click on it, and you will instantly reach the support team of this plugin.
Pricing
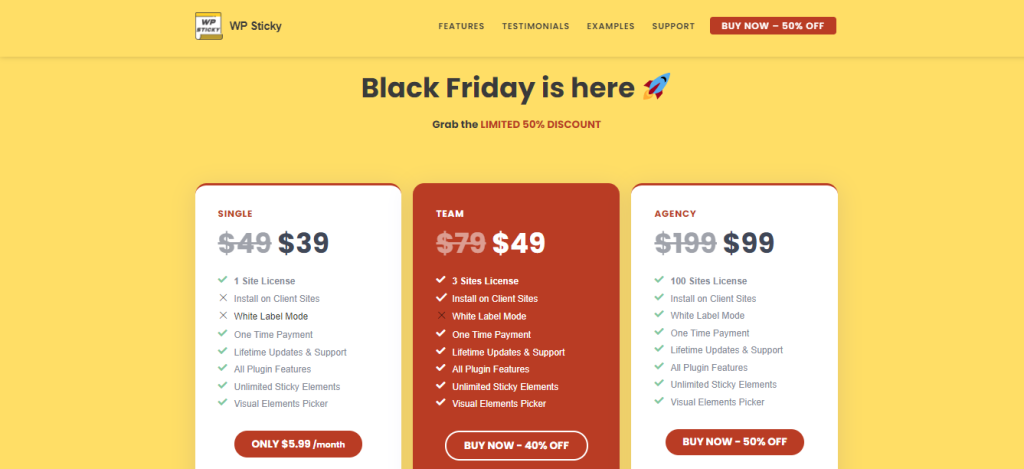
This tool offers three different pricing plans by the name of single, team, and agency. The single pricing plan is the cheapest option, and it costs $39 for a lifetime or $5.99 per month. The features you get are for one site license only, lifetime updates & support, plugin features, unlimited sticky elements, and a visual elements picker.
The second option is called Team, and it goes for $49 – a one-time payment. The features you get are for three sites license, installation on client sites, lifetime updates & support, all plugin features, unlimited sticky elements, and a visual elements picker.
The final plan is called Agency, and it goes for $99 – a one-time payment. The features are for 100 sites license, plus the exact features you get for the Team plan plus the White label option.
This plugin also has a 100% No-risk money-back guarantee, meaning if you buy this plugin but don’t like it in the first seven days, they will be more than happy to refund you 100% of the money you invested without any questions.
Conclusion
In the end, we must say those sticky elements are a big part of any website nowadays. We are used to the navigation bar always being on top of the site and don’t question the why and how.
With WP Sticky, you can stick anything but just the navigation bar, and that’s the fun of it. As long it is on your website, you can stick it so that your visitors can always see it.

