


How to Create a Digital Online Shop for WordPress – Part 3 – In the third or final part of this online digital shop tutorial, I will fully discuss how to add your digital items to product listings so that you can start selling digital products using Easy Digital Download ( EDD).
Read: How to Create an Online Digital Store With WordPress – Part 1
Adding Products
The reason behind the existence of every digital shop is the products that are displayed for sale. Without a product, you don’t need to study this digital shop tutorial.
EDD provides one of the simplest and most user-friendly frameworks for creating new products. please click the Download menu »Add New .
A new window will open that has the same layout as the post editor where you can create posts in WordPress, meaning that you can customize the details of each product at any time. To add a new product to download, first enter the title in the title column. After adding the product title, you will add a Description in the Product Description which is in the editor column. It should contain all useful information about your product. You can also add digital product categories in the Downloads »Categories menu.
Just below it you will find a meta box called Download Price to set the Product Price. So, let’s go into the details.
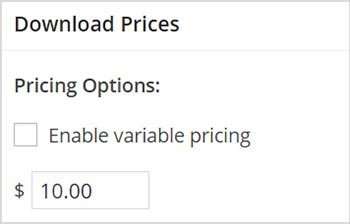
This Meta Options Pricing Box. First you will find a checkbox with the option ” Enable Variable Princing “. By default this box is unchecked and you can easily add product prices to the boxes provided.
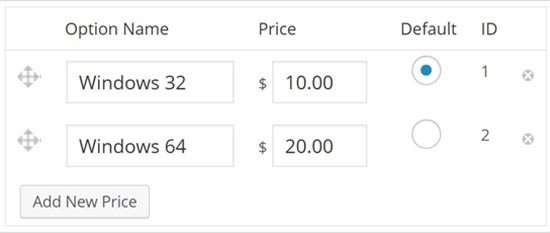
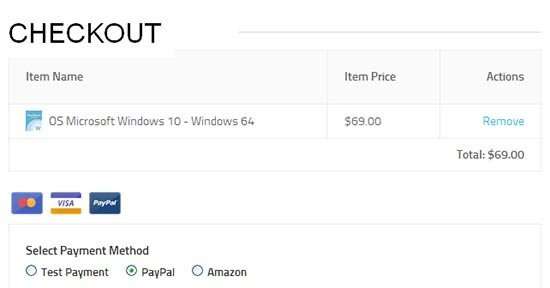
But if your 1 product has 2 different versions and different prices, then you are required to check the “Enable Variable Princing” option and a new check menu will appear and please also check ” ” Enable multi-option purchase mode. Allows multiple price options to be added to your cart at once ” , suppose you are selling Windows 32 and 64 versions, of course, it will have different prices. This option will allow buyers to purchase versions of the same product at once and they will be mentioned on the Checkout page.
Download File
Moving to the bottom of the page you will find another meta box labeled “Download Files”.
Product Type Option
In this meta box it will first configure the Product Type Options. This will categorize your product in two types:
1. Default
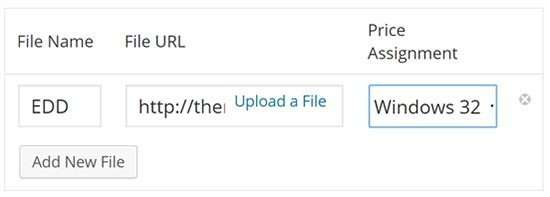
If you choose the first option, then you will be directed to a window where you can fill in the fields to add the product File Name, File URL, and Price. The URL File will direct the buyer to a link to download the purchased product.
In the Price Assignment column, you will find a drop-down menu that will display all the options you entered in the Option Name field in the Download Price meta box (i.e. Windows 32 and Windows 64). So, choose the appropriate price for the product.
Also, if you have more than one file, you can click Add New File. You can even add an image from the file by clicking Upload File, but that’s optional.
2. Bundles
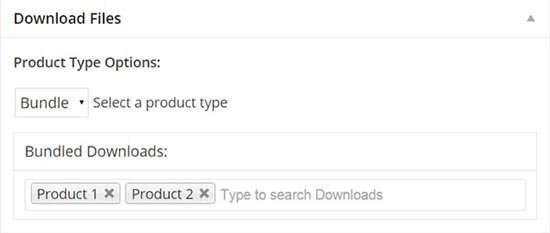
If you select Bundle as your Product Type Option, it means that your product includes more than one link from the next product.
The image above shows what the product bundle looks like. Here you will enter the names of all Download Bundles that you wish to offer along with the new product. In this case, I added two items to the list, namely Product 1 and Product 2.
Download Notes
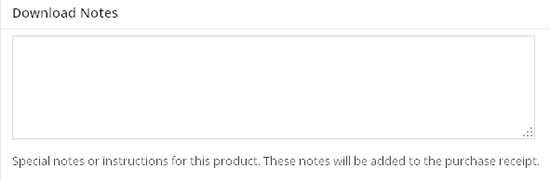
Moving on, the next meta box is for Download Notes . This is just a text field where you will enter a brief note, guide, tips, etc. regarding your product. You can even add further links related to this product. These are additional links that might be useful to make it easier for your buyers to use your product. All this information will be displayed on the Purchase Receipt.
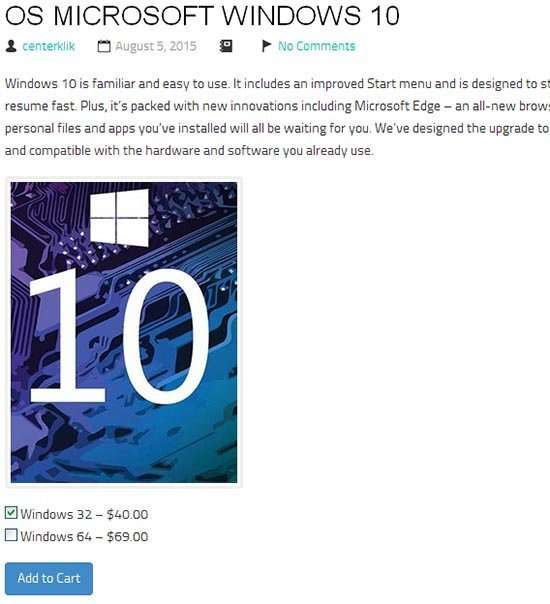
After you have done all the settings above and have adjusted it to your product, you can click the Preview button to see the product on the front-end of your site. The image above shows the result of this tutorial. This layout shows the download product name, price and details. And after you click Add to cart it will produce a display like an online store usually as shown below.
The following is the final tutorial on how to create an online digital shop with WordPress, hopefully with the tutorial above, you can easily create an online store and start your online business right now. Hope it is useful. 🙂
Read: How to Create an Online Digital Store With WordPress – Part 2

