How to Install Disqus Comments on WordPress – The comment column is so important for blogs, because with the comments column, visitors can leave a comment about the article that we make or can also be used as a place to ask questions, discuss and some bloggers use the comments column to add fellow blogger friends and also to increase visitor returns.

WordPress comes with a comment column that is simple and easy to use, when you install WordPress for the first time, you can immediately take advantage of the existing comment feature.
In connection with the comments column on your website or blog, you will often see blogs that use the comments column with the name disqus, now in this article I will provide a tutorial on how to install Disqus Comments on your WordPress blog. Actually, by default WordPress already includes a comment column, but if you don’t want to use the default comment column and want to replace it with a more interesting one with a disqus comment. You can follow the complete tutorial here, but first you read about what disqus is.
What is Disqus?
Disqus is a community network platform used by hundreds of thousands of websites around the world. By using disqus you have many advantages such as a complete system that is integrated with social media, sophisticated administration, easy moderation and many other advantages.
Disqus can work with almost any type of website or blog and can be installed properly using a drop in snippet. You can also customize disqus to suit your site using the extensive API help and Java Script Hook they provide.
With disqus also has the advantage of having a faster comment system because it doesn’t integrate with the hosting server of the WordPress site that uses disqus. Likewise, you WordPress users can take advantage of disqus comments to change the default comment system. This will make the blog load comments faster as it fetches from the disqus server and not loads from your site’s database.
How to register disqus for WordPress
To register and have a Disqus account, please visit the Disqus website for the first time and click the “ Get Started ” button on the Disqus front page.
You will be presented with two options for the Signup list and if you have registered, you will select login. Please select Signup and you can register using social media accounts such as Facebook, Twitter and Google+, or register for a new account by filling in the form by entering ” Name “, ” Email ” and ” Password ” as shown below.

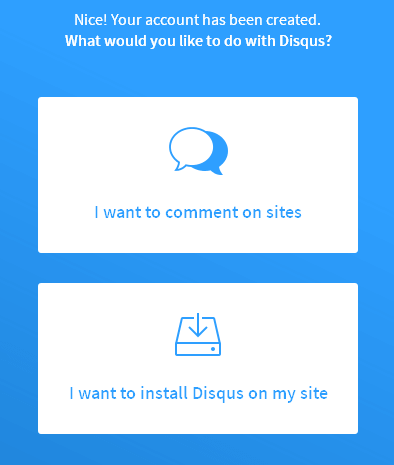
Then click the Signup button and you will see two options ” I Want to comment on site ” and ” I Want to Install Disqus on My site “, the first option is to create an account that you only use to log in and make comments on blogs that are using disqus comments. Meanwhile, to install Disqus comments in WordPress, please select the second option, namely ” I Want to Install Disqus on My site “.
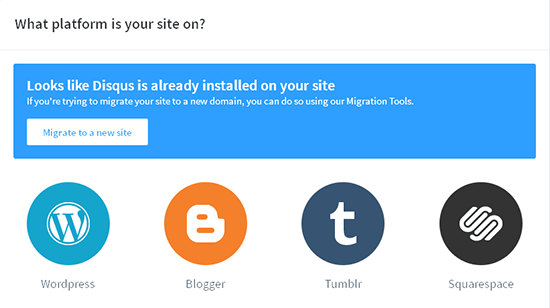
After the above steps you are required to enter your site name, shortname and category and click ” Create Site “. And please select the platform you want to install disqus on, because this tutorial is for WordPress, so I chose WordPress by clicking the “ WordPress ” icon.
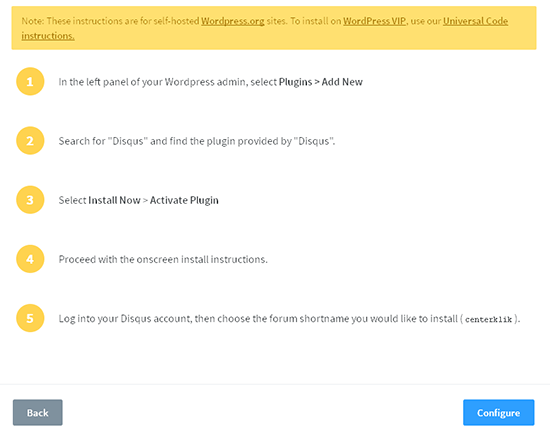
In the next step you will see instructions on how to install the Disqus plugin and connect the plugin to the Disqus account that you have created. And click the ” Configure ” button.
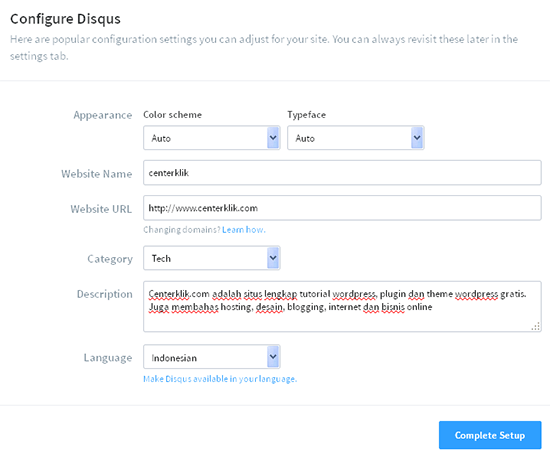
In this section you can select several views in the Appearance scheme, and fill in your website name, website URL, Category, Description and Language. If you have filled everything in accordance with the information on your website or blog, please click Complete Setup. And congratulations now that you have a disqus account for your WordPress website.
After completing the steps above, don’t forget to open the email you used to register and see new messages from disqus, the message contains information and an account confirmation button. Click the button so that your disqus account can be used fully.
Install the Disqus WordPress Plugin
After you have finished creating a disqus account, it is time for you to install the disqus plugin as described in the instructions that were explained during account creation, or you can read my article about the WordPress plugin install guide .
After you activate the disqus plugin , there will be a new menu called ” Disqus ” on the Comments »Disqus menu, click on that menu to configure it. Please enter the username or email you used to create the account and also enter the password you filled in when registering in the DISQUS. And click ” Next “.
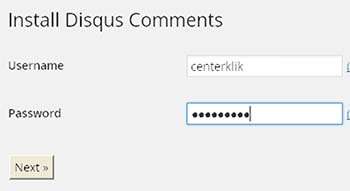
In this section the name of your website will appear with the shortname that you created earlier. Click the ” Select a Website ” option and click the “Next” button. And congratulations now that your WordPress site has Disqus comments installed. Now take a look at your site by opening an article and disqus has now replaced the default WordPress comments field.
To export comments from your old WordPress comments, please read the tutorial here .
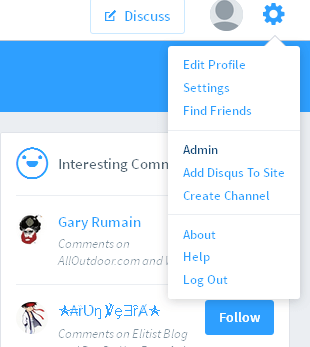
To moderate comments (Approve, edit and delete), you can login directly to the disqus site or via the Moderate link in your WordPress admin section which will be linked to the comment moderator section, or you can directly access the disqus site and log in, after logging in you click the menu Settings with the ” gear ” icon and click the ” Admin ” menu as shown above.
Above is a complete way to install disqus comments in WordPress, follow the tutorial above if you want to change the default WordPress commenting system by installing disqus. Hopefully this article was useful for you and good luck. 🙂


