


How to Create a Staging Website or Clone Web WordPress – If you are a web manager or designer, you will definitely face a condition where you have to make changes to the website you are running, these changes can be in the form of updating themes, plugins, installing new plugins, adding new code or or do any form of editing. But will making changes and edits to a website that is live and live will have a good impact on your site?
Changes can be made directly on the live website, but if something goes wrong it will automatically be seen by your visitors and this will result in a bad user experience. Additionally making edits while the site is live could result in disabling some or all of the website functionality if something goes wrong. So the best way to make any form of website changes without affecting the live website is to create a mock website or staging website. And here I will explain in full about website staging and how to create a clone website for WordPress.
What is Website Staging?
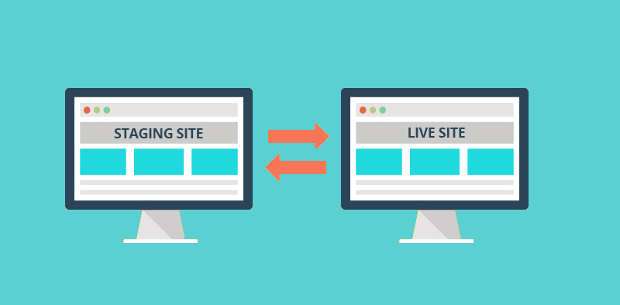
Website staging is a plugin to create a mock website or clone of your original website and this mock website is not linked to the original website directly. Website staging is usually used by web designers or owners to test themes, plugins, and special code before uploading and implementing them on a live website. This is done with the aim of reducing the risk of creating errors on the original website which are usually seen as corrupted code, non-functional plugins or imperfect page views. Website staging allows you to try and see what needs to be fixed or modified before moving or implementing those changes on the original website.
Why Use Website Staging?
There are no restrictions on making changes or edits to the original and live website and it’s okay for you to do it. But if the website you are running is an active website and has a lot of users, it could be a problem when you make a mistake when making these changes. Especially if the website you are running is a business website, this can really bring you at a disadvantage. If you are still not sure why you should use a staging website, then you can consider the following reasons:
- Website staging allows you to thoroughly test your site and make the necessary changes as you see fit. This is especially useful when saving a new website that hasn’t been launched yet. Can you imagine the unnecessary time and pressure you would put on when you found out that your live site was down or in maintenance mode? You’re more likely to make mistakes or lose something if you hurry so you can bring the site back to life.
- If you already have an active and stable website with lots of visitors, then using website staging can ensure that visitors and readers will not be disturbed while you are working behind your website. This website staging can keep all site functions running perfectly so that visitors don’t know there is work being done behind it.
- Website staging can reduce the risk of loss to a business if a website problem occurs. No screen displays are visible due to coding errors or due to any downtime. It also helps minimize the possible damage to your conversions, sales and SEO . Because search engines are suspicious of a broken website because they deem it a risk to the overall user experience.
The above are some of the reasons why you need to use website staging for every website that you have, and every professional website owner must do the same thing to keep their website running normally and avoid losses from the business side.
If you are a WordPress user, there are several plugins that you can use to create a staging website. Even though there are manual methods you can do to create a staging website, using plugins will give you the benefit of an easier implementation. Because to use the manual method, you must have technical skills about control panels, databases and WordPress first to prepare a place for a staging website. With plugins all the processes are represented and you only need to do the process with a few simple clicks.
Especially in this article, I will discuss how to create a staging website in WordPress using a plugin called “WP Staging”. For the use of manual methods and what plugins can be used to create a staging website, I will probably discuss it in another article at a later time.
Read: How to Create an Autoblogging Website with WP RSS Aggregator
What is the WP Staging Plugin?
WP Staging is a WordPress plugin that allows you to quickly create a clone or clone website in seconds or minutes depending on the speed of your hosting server with one click action. This plugin is very effective and efficient for use by beginners even without technical knowledge because this plugin is easy to use and there are no confusing special settings.
WP Staging is currently used by more than 10,000 users and has a 5 star rating of almost 95%. This proves that this plugin works well and is a solution for many WordPress users to quickly create a staging website with just one click. And this WP Staging plugin is a great choice for testing basic tweaks, or checking if a new plugin or theme is compatible with your original site before you actually apply an update or new install to the original site.
WP Staging Pricing
WP Staging is a free plugin that you can download or install directly from the WordPress.org directory, this plugin also has a premium version at a pretty high price, for the lowest plan priced at € 69 per year. And here is the complete price list of WP Staging Pro:
- Beta Version 1 Active Site – € 69.00
- Beta Version 30 Active Sites – € 229.00
- Beta Version 100 Active Sites – € 529.00
The price above includes getting updates and full support for one year. And plugins can still be used even if it is more than one year from purchase if the annual license is not renewed. However, you won’t get updates and support after that. In addition, WP Staging gives you a 30 day money back guarantee if you feel the plugin doesn’t live up to your expectations.
WP Staging Pro features
WP Staging premium version will provide some features that you will not find in other WordPress Staging plugins, it will really save your time and work much lighter than before.
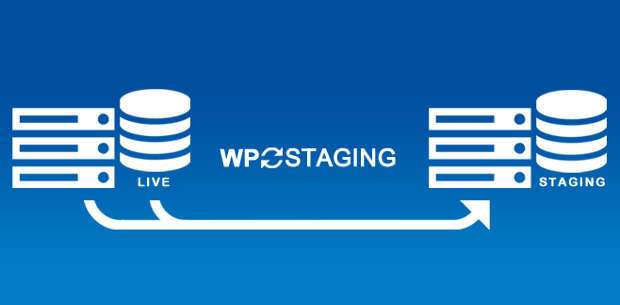
- Cloning : WP Staging allows you to clone your site with one simple click while your original site is live and the cloning process doesn’t interfere with the original site at all.
- Push Changes : This is a cool feature that WP Staging offers to you, that is, after you have finished testing the plugins and themes on a mock site and have no problems, you can directly copy the plugins and theme files from the mock site to your original live site. with just one click.
- Authentication : WP Staging is only available for authenticated users, so to access the mock site you are required to first login to the original site.
- High Performance : The cloning process is done quickly in just a few seconds or minutes depending on your hosting server and this cloning process does not slow down website loading at all.
- Secure : WP Staging is well coded by experienced developers so this plugin is safe and protects your data.
- Snapshot : Backup & Restore Database with 1 Click. WP Staging Pro 3.01 creates automatic snapshots of your production database before getting your site online. You can even export these snapshots and save them for backup purposes on your local computer. You can also restore these snapshots with a simple click or you can even create manual snapshots whenever you want.
How to Create Web Staging in WordPress with WP Staging
To use the WP Staging plugin the first thing you need to do is install and activate the WP Staging plugin . You can read my guide on how to install a WordPress plugin in the following article if you don’t know how to install a plugin » Complete Guide on How to Install a WordPress Plugin .

After your plugin is activated, there will be a new menu called “WP Staging” in your WordPress admin area.
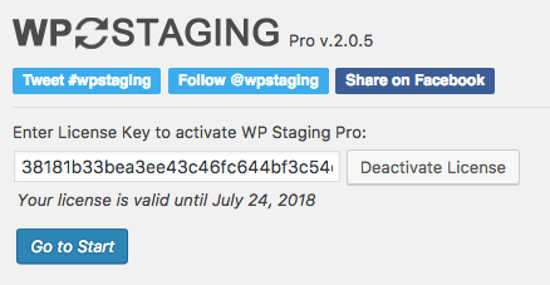
If you are a pro version of WP Staging user, you must first enter the license key to validate it on the WP Staging »License menu. This will activate the features of the premium version.
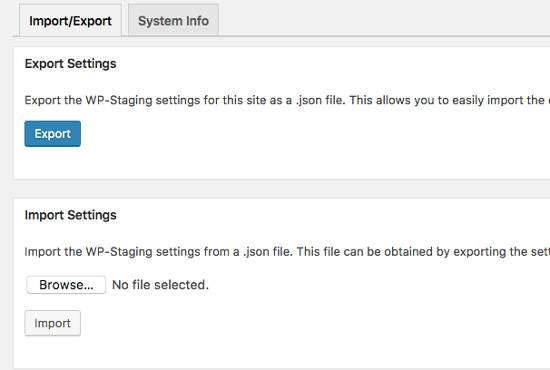
On the “Tools” menu you will see a page that you can use to import and export the WP Staging settings that you have configured in the form of a .json file for you to use on your other sites. And there is also a menu tab “System Info” which contains information about the hosting server and everything about your WordPress.
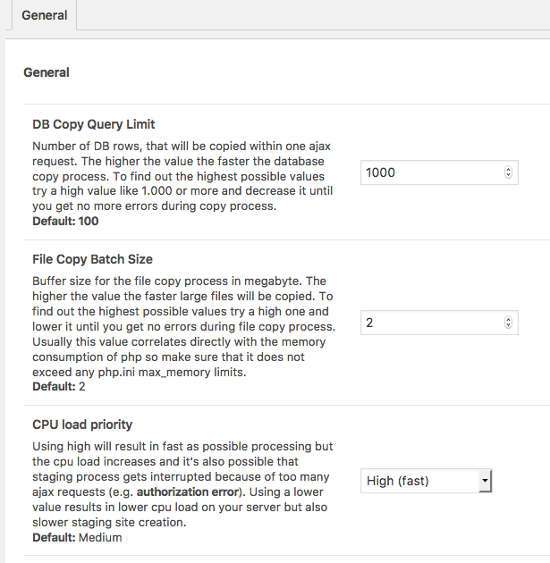
In the “Settings” menu, you can make configurations such as DB Copy Query Limit, File Copy Batch Size, CPU Load Priority and many more. If you have some technical knowledge of this you can make changes or leave this setting by default.
In the “Start” menu, this is where you will start working with the WP Staging plugin, where you only need to do three easy steps with a few clicks to start cloning your original website.
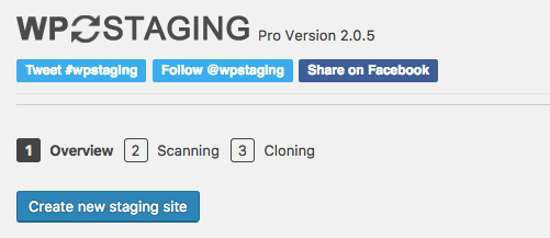
The first step is “Overview”, here Please click the “Create New Staging Site” button.
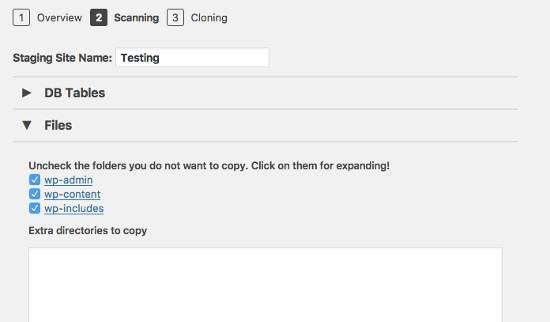
The second step is “Scanning”, here you are required to enter the name of your staging site. As an example I will create a staging site name with the name “Testing”. And this will automatically create a sub folder called “Testing” under your main site folder. In this section you can also select folders and databases that you don’t want to copy. You only need to un-check it if you don’t want database files and folders not to be copied.

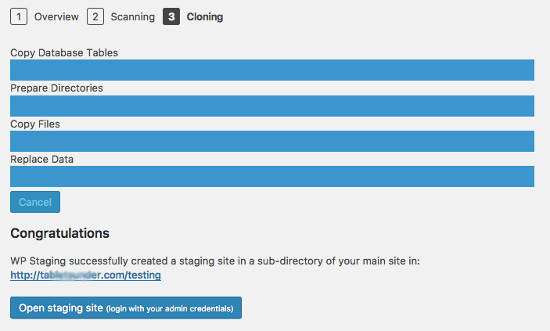
The third step is “Clonning”, here you only need to wait for the WP Staging plugin to do its job, namely copying database tables, prepare directories, copy files, replace data. You can clearly see the indicator that the process is running. In testing that I did this process only took no more than 2 minutes.
When the cloning process is complete, you will see a notification saying “Congratulations” and there is a button “Open staging site”, just click the button and you will be taken to the login area to the mock site and please login to try your mock site.
In addition to a different URL, your staging site is also distinguished by a bar that has a different color than your original site.
And that’s the process of creating a clone or clone website that can be done very easily and quickly with the help of the WP Staging plugin.
Conclusion
The WP Staging plugin is a powerful plugin that can help you create a cloned website quickly and easily without any problems with the original site. By utilizing this plugin you can leave the manual method too complicated for novice WordPress users and creating a staging site can save your main site from having problems when you want to make changes, update plugins and themes or install plugins and themes on your original website.
Read: Easy Ways to Install AdSense Ads on WordPress with WP Quads
WP Staging Pro is indeed offered at a fairly expensive price, but it will feel worth the benefits you will get. If you feel this plugin is essential for your needs, then now is a good time to buy it. And good luck. 🙂

